Growing garden veggies in cold frames is a wonderful addition to your gardening life if you live in a climate that has a short growing season, or if you just want to extend your growing season. We use ours for lettuce, spinach, herbs, beets, leeks… I can’t think of much that will not do well in a cold frame.
What is a Cold Frame
A cold frame is any kind of structure to trap heat around plants. They are basically little greenhouses that are built over your plants. You can build them out of any material that you want. Lots of people make them out of bent PVC pipe and cheap plastic. Those actually work very well.
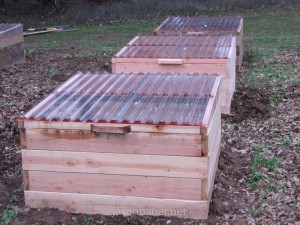
We made a set of 6 cold frames out of wood and decided to put Suntuf lids on them. Suntuf is clear corrugated plastic that is sometimes used on greenhouses, above patios, and in our case, on cold frames. It’s super easy to work with, not brittle, and water clear.
This post is a bit long because I wanted to include a lot of detailed pictures of their construction. These are easy to make and you should be able to bang them out in a weekend. We made these ones out of fir, but you could use cedar or redwood if you wanted.
How To Make Cold Frames
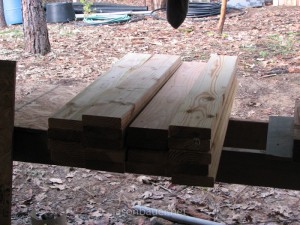
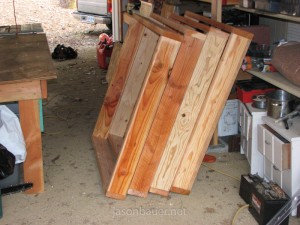
Start by cutting your lumber to length. For these cold frames we decided to do 4′ x 4′ and make them 4 courses high, which works out to about 22″ or just under 2 feet.
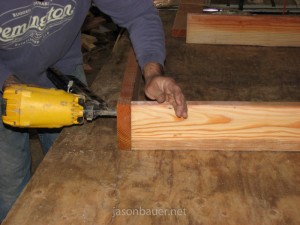
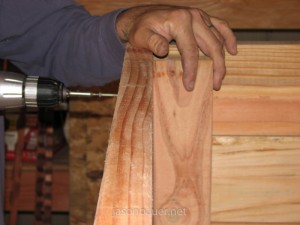
We used an air nailer to rough assemble the sides. We’ll use screws later to reinforce them.
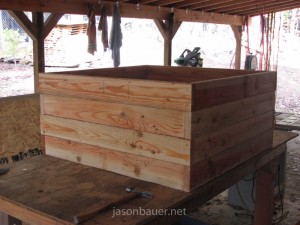
Since we wanted 2′ tall and we were using 6″ lumber, each cold frame requires multiple courses.
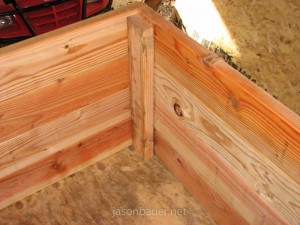
After all of your courses are made you can stack them up and put in a vertical brace.
The vertical brace holds the separate courses together and adds strength to the corners.
Here’s a different view of the vertical brace.
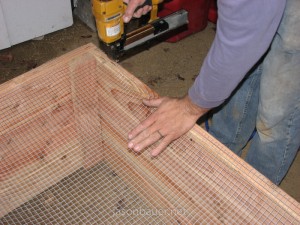
We have a lot of moles and gophers here so we like to put some sort of metal barrier on the bottom of our raised beds. In this case we used 1/2″ hardware cloth. We stapled it in place with a 1″ crown roofing stapler but you could use any staple that you can find.
How To Make Suntuf Lids
If we were just going to make raised beds we’d be done here, but these are going to be cold frames so they need a lid of some kind. To make a hinged lid we need to make a frame to attach the Suntuf to, and we wanted it to be sloped so that the rain would run off nicely. It probably doesn’t have to be sloped and it would be a lot less work to not slope the roof if you don’t want to.
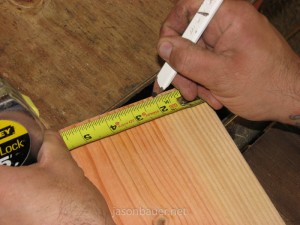
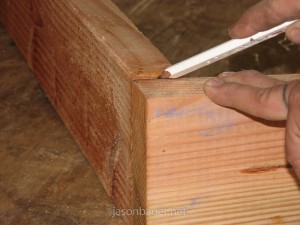
We created the lid frame by ripping some 2×6 at an angle from full 5.5″ down to 2″. First we measured the ends.
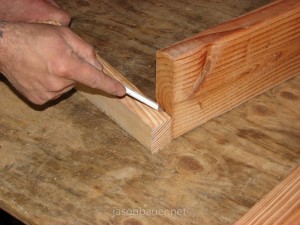
Then we used a chalk line to snap a cut line.
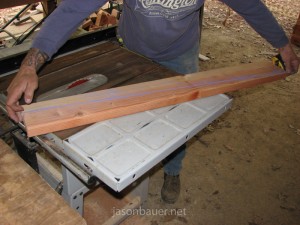
A couple minutes with a skill saw and we had our left and right tapered pieces.
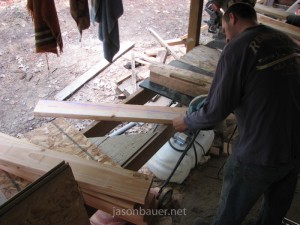
Now we need to rip the near and far frame pieces down to match. If you are really detail oriented you can cut these at an angle, but it’s certainly not necessary.
Instead of marking this you could just rip your board down to 2″. Or you could just buy some 2×2 use that.
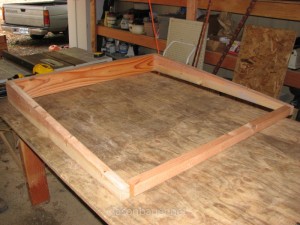
Here’s a shot of the lid frame.
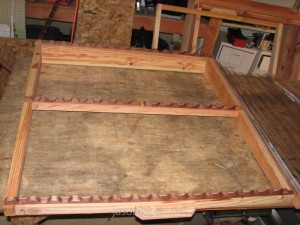
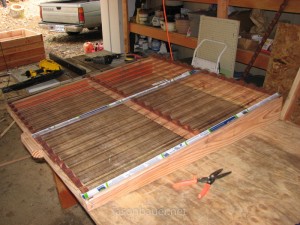
Next we installed some closure strips, which are wavy pieces of wood that match the cut pattern in the Suntuf plastic sheets. We decided to add a center brace as well just to make sure that the Suntuf would not flex and bow in a snow load.
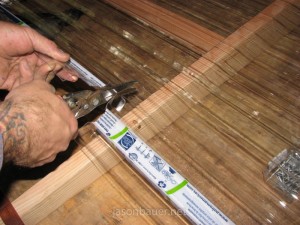
Put the Suntuf on the lid, mark it to fit, and cut it.
It cuts great with tin snips.
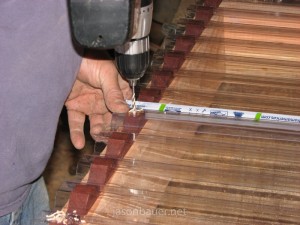
Be sure to predrill holes before putting screws through the Suntuf. You don’t want to crack it.
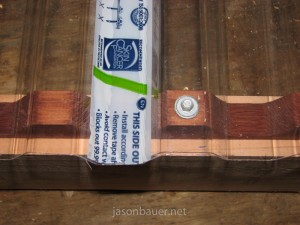
We used a gasket screw that you can find at most hardware stores.
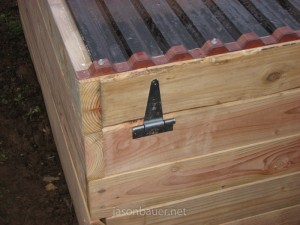
After the lids were assembled we simply set them on the cold frames and attached them with basic hinges and coated deck screws.
You might want to consider making these close to their final destination because they get pretty heavy.
Now fill them with soil or compost and get planting.
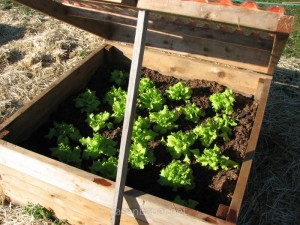
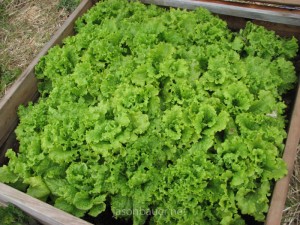
By planting our lettuce in cold frames we were able to start our growing season 2 months early. Then in the fall we planted another crop and extended it another 2 months. Between cold frames and the ground we can almost eat garden fresh lettuce all year.
I think this is very interesting andd I’ve shared iit
with mmy my contacts! Thanks for this important info.
Nice tutorial
I’m surprised you used a nail gun instead of screws.
I hastily made some raised beds with nails to stop people walking through my front yard.
All raised beds in my yard (22) that were nailed have since bed screwed together.
If you look at what Elliot Colman has done with an additional iner layer you can greatly increase production of raised beds as I have done in Colorado.
In the article it says:
“We used an air nailer to rough assemble the sides. We’ll use screws later to reinforce them.”